Setting up a turntable might seem like a daunting task, but with the right guidance, it’s actually a fun and rewarding experience! So, grab a drink, put on some tunes, and let’s get started.
Step 1: Choose the right turntable
Before you dive into the setup process, it’s important to choose the right turntable. With so many options out there, take your time to research and find the one that fits your needs and budget. Don’t rush this step, it’s a crucial one!
Step 2: Gather the necessary equipment
To set up your turntable, you’ll need a few essential pieces of equipment. This includes a preamp, speakers, RCA cables, and a phono cartridge. The preamp amplifies the sound from your turntable, the speakers play the music, the RCA cables connect everything, and the phono cartridge reads the grooves in your records and sends the sound to your preamp.
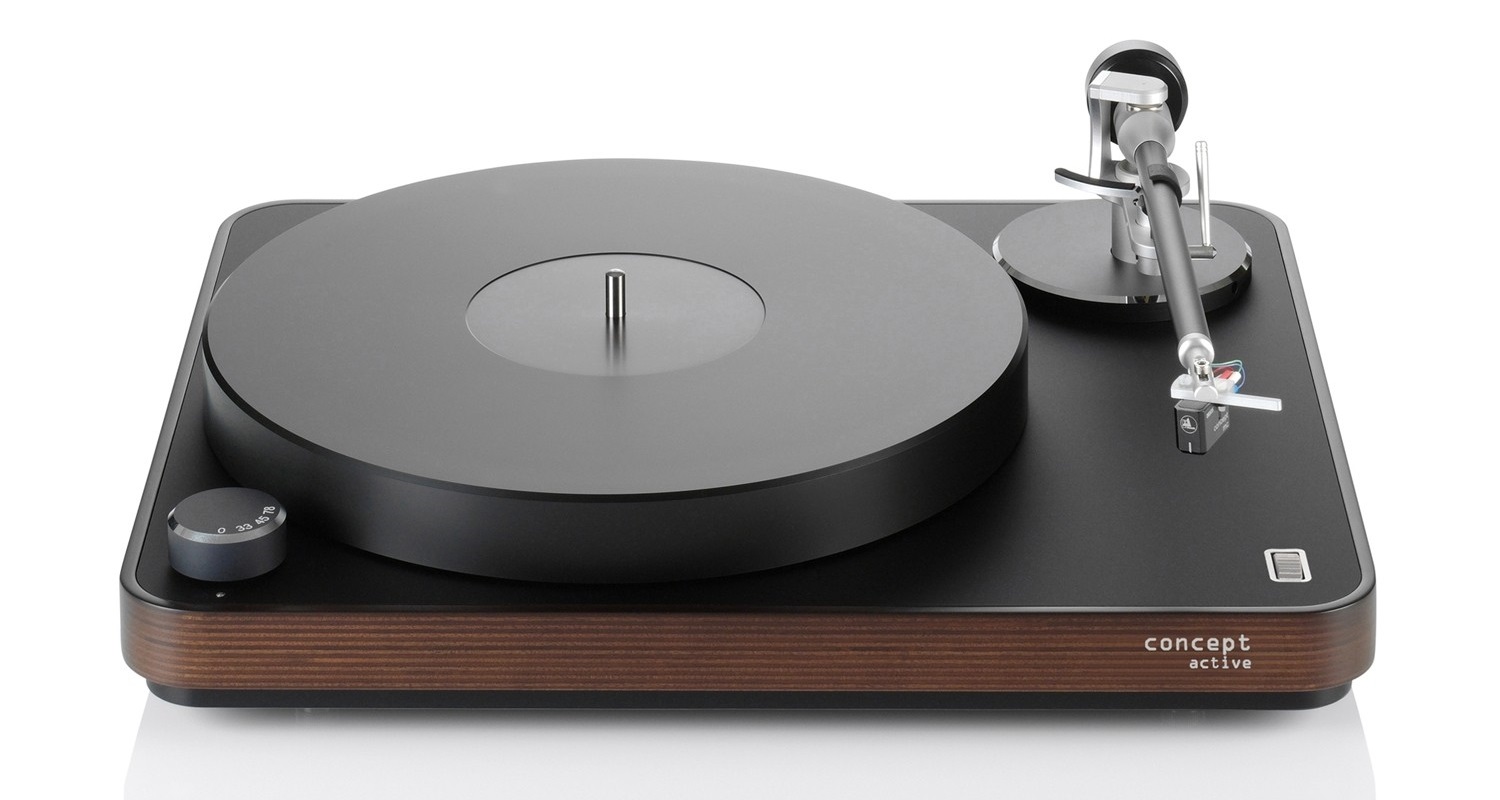
Step 3: Unpack and place your turntable
Once you’ve got all your gear, it’s time to get your turntable out of the box. Gently place it on a level surface, like a shelf or stand, and make sure it’s away from any sources of heat or vibration.
Step 4: Connect the turntable to the preamp
Using your RCA cables, connect one end to your turntable and the other end to your preamp. This is where the sound from your turntable is sent to be amplified.
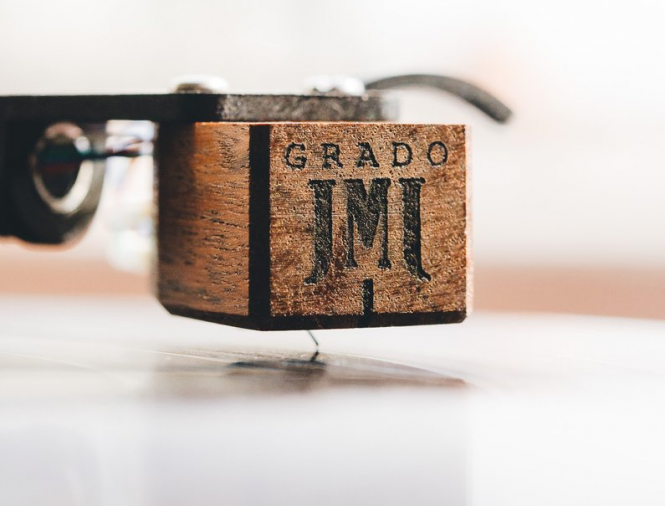
Step 5: Install the phono cartridge
The phono cartridge is the heart and soul of your turntable setup. It reads the grooves in your records and sends the sound to the preamp. Make sure to read the manual carefully for instructions on how to install the cartridge, as it varies based on your turntable model.
Do you know that the tiny little piece of equipment known as a phono cartridge can make a big difference in the sound quality of your vinyl collection? Yes, indeed! And that’s where the world of MM (Moving Magnet) and MC (Moving Coil) cartridges come into play. But what exactly sets these two types of cartridges apart? Let’s find out, shall we?
First up, we have the MM cartridge. This type of cartridge is known for its simple design and ease of use. It’s a popular choice for entry-level turntable setups and is often referred to as the “plug and play” option. However in my experience it does help with sound quality to set it up as you would an MC cart. With an MM cartridge, you don’t have to worry about fiddling with settings or adjusting the weight of the tonearm. Just pop it in, give it a spin, and you’re good to go.
Next, we have the MC cartridge. This type of cartridge is often considered the audiophile’s choice and is known for delivering a more detailed and nuanced sound than MM cartridges. MC cartridges are also considered more sensitive and therefore, require a bit more care and attention during setup. Think of it like a sports car, it’s more powerful but requires a little extra maintenance.
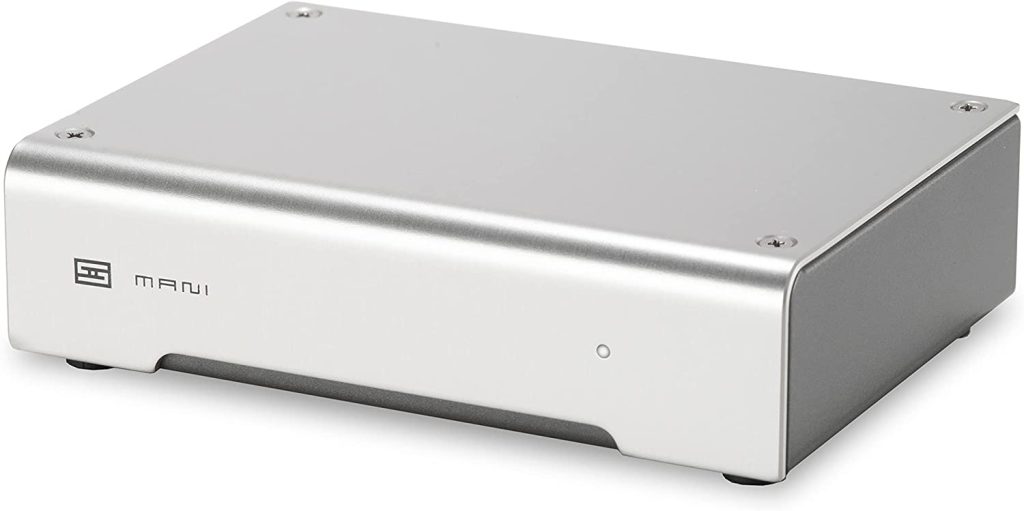
Now, let’s talk about the elephant in the room. Cost. MC cartridges tend to be pricier than MM cartridges, but like the saying goes, “you get what you pay for”. And in this case, you get a more high-fidelity sound that’s sure to impress even the pickiest of audiophiles. Don’t for get your phono pre-amp will need to be able to handle MC cartridges. If you are new to Record plyers / turntables you may want to get a cheap all rounder. I recommend the Schiit Mani 2 Phono Preamp for MM, MC, and MI Cartridges. It sounds good and won’t break the bank.
So, which one is right for you? Well, it all comes down to personal preference and the kind of setup you have. If you’re just starting out and want a simple, no-fuss option, an MM cartridge might be the way to go. But if you’re a seasoned vinyl collector looking for the ultimate listening experience, an MC cartridge might be worth the investment.
In conclusion, MM and MC cartridges each have their own unique characteristics, and the right choice for you will depend on your individual needs and preferences. Just remember, a good cartridge is like a good dance partner, it should complement your setup and make your vinyl collection sound its best. So, put on your dancing shoes, grab your favorite record, and let the music take over!
Step 6: Calibrate your turntable
Now that your turntable is all set up, it’s time to calibrate it. This involves adjusting the weight of the tonearm and the anti-skate mechanism. Proper calibration is essential for preventing damage to your records and ensuring even playback.
Step 7: Put on a record and enjoy
Finally, it’s time to put on a record and enjoy the warm, rich sound of vinyl! Sit back, relax, and let the music take over.
And there you have it, your turntable setup is complete! Enjoy your vinyl collection and remember, taking the time to set up your turntable properly is worth it in the end. Happy listening!